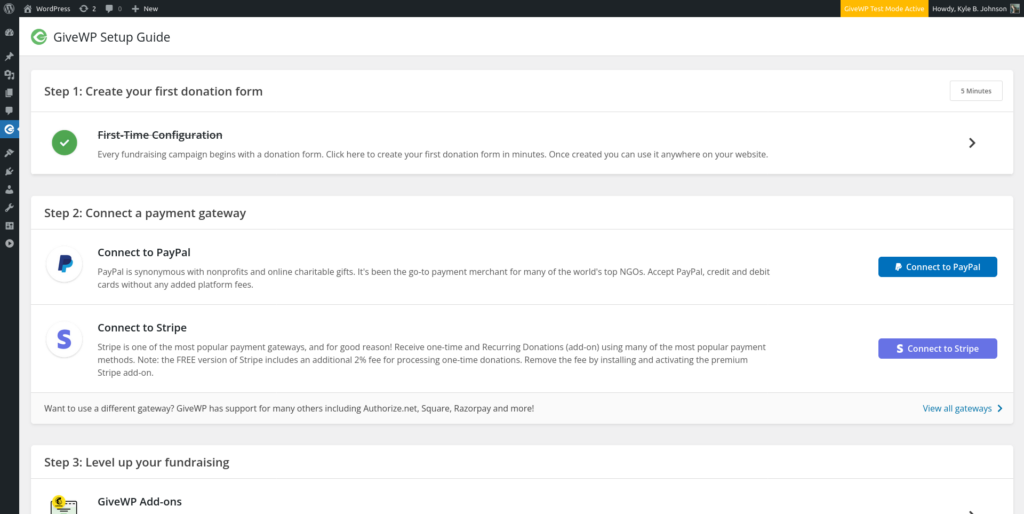
After installing GiveWP on your non-profit WordPress website for the first time you will be greeted by a helpful Onboarding Wizard, walking you through the first-time configuration of your donation form.

Cause and Organization
The first step is to add a few details about your cause, including if you are collecting donations as an individual or an organization. You can also specify the type of cause (ie advocacy, education, health, etc) for which you are collecting donations.

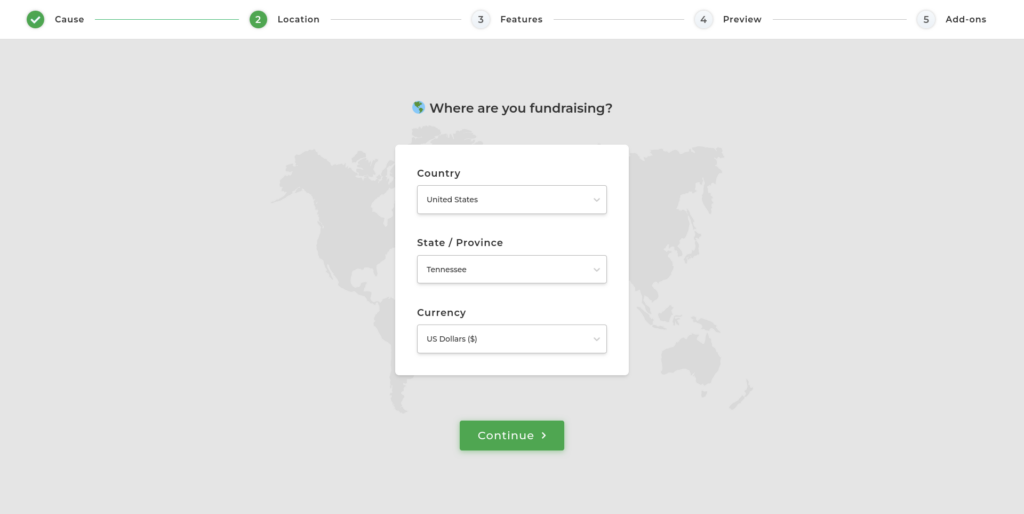
Fundraising Location
The second step configures the location and currency of your fundraising efforts, with smart defaults that suggest a currency based on the selected location.
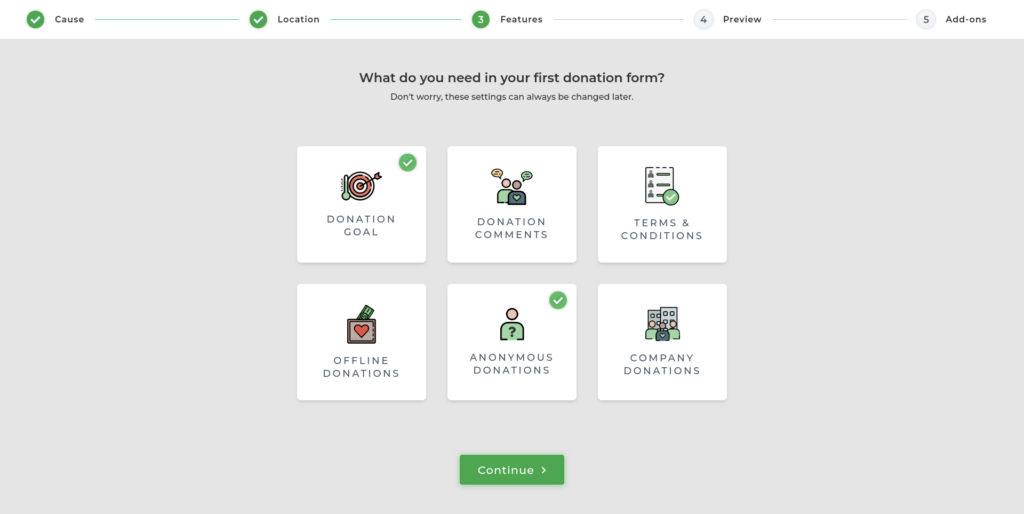
Donation Form Features
While the donation form offers a lot of useful features, sometimes it is more useful to limit the available features according to your fundraising needs. The third step tailors your donation form to your fundraising needs.
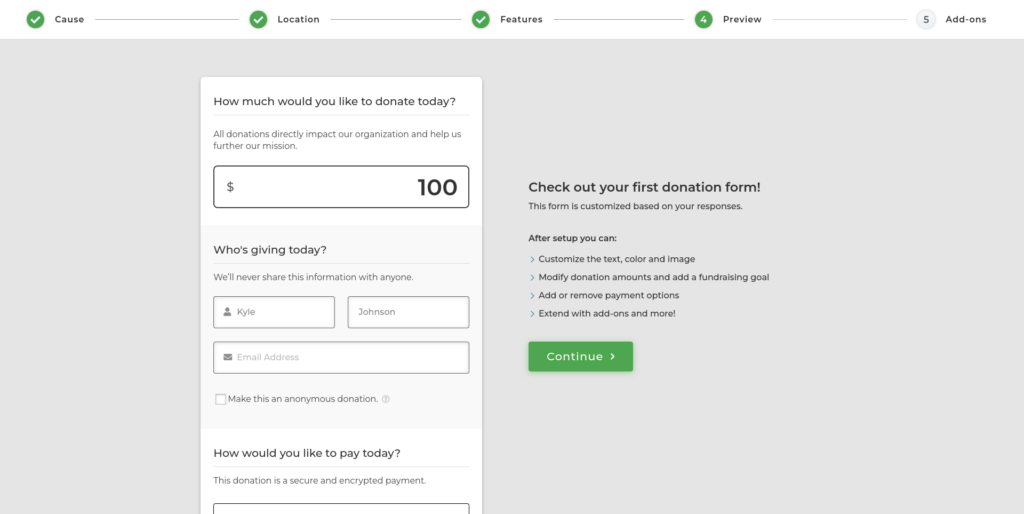
Donation Form Preview
The fourth step is a helpful preview of your first donation form. Notice the anonymous donation checkbox on the form, which was added because of the feature selection in the previous step.
Additional Features
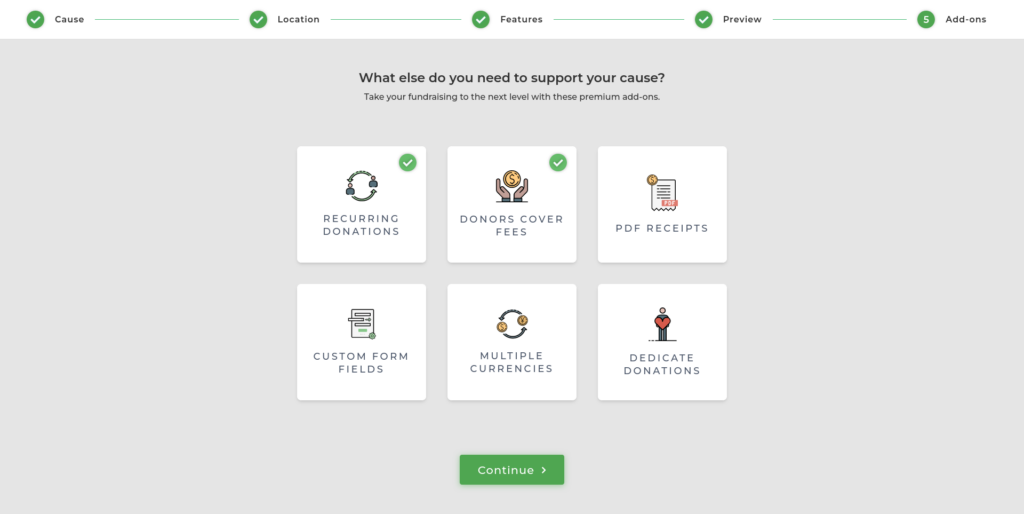
In the last step you are presented with additional features to support your fundraising. GiveWP offers many additional features, such as recurring donations, fee recovery, multiple currency support, and many more. These are premium features (the cost of which supports the future development of new features), which can be purchased and installed separately.
Collecting Donations
With your first donation form configured all that remains is to connect a payment gateway and start collecting donations.
